Learn how to create a budget in Hampr to give you insight to how much you're spending across a period of time.
1. Click 'Budgets' on your left navigation menu
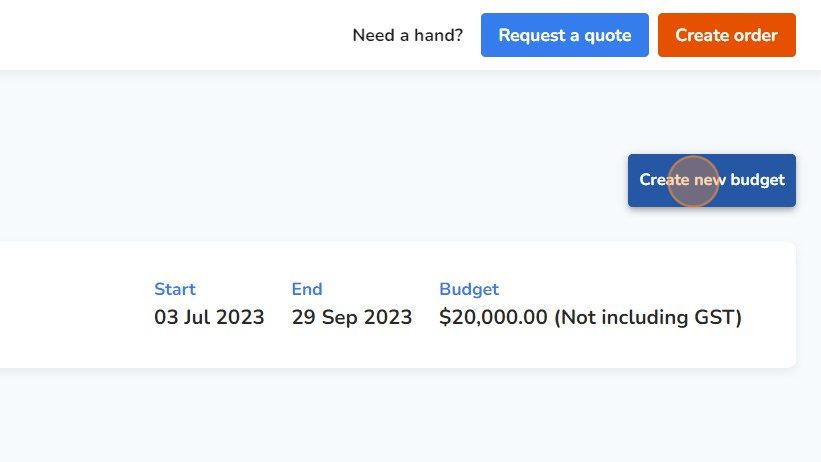
2. Click 'Create new budget' on the top right hand corner.
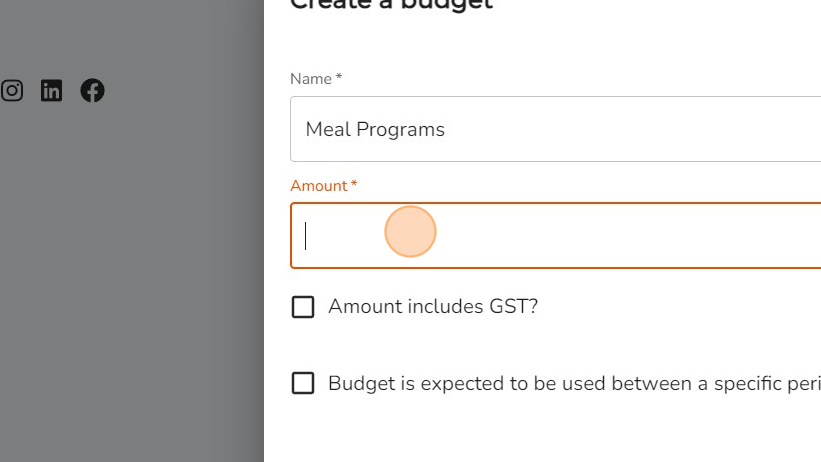
3. Input a name and total amount for this budget.
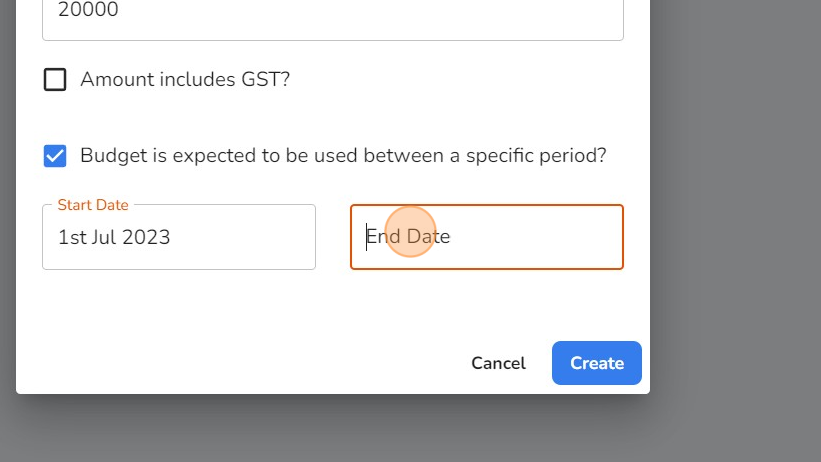
Note: You will also be able to select whether you want this amount to include GST.
4. If you would like to allocate this budget to a specific time period, check the box and enter in the start and end date for this budget. Once complete, click the 'Create' button.
5. Select the budget that you created.
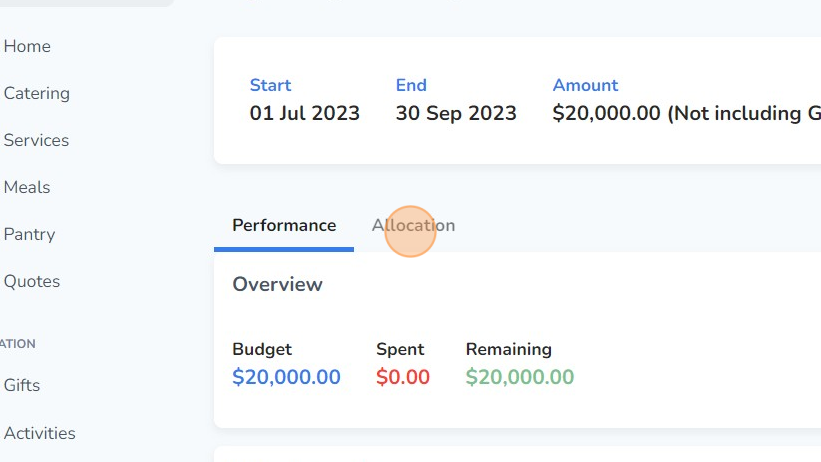
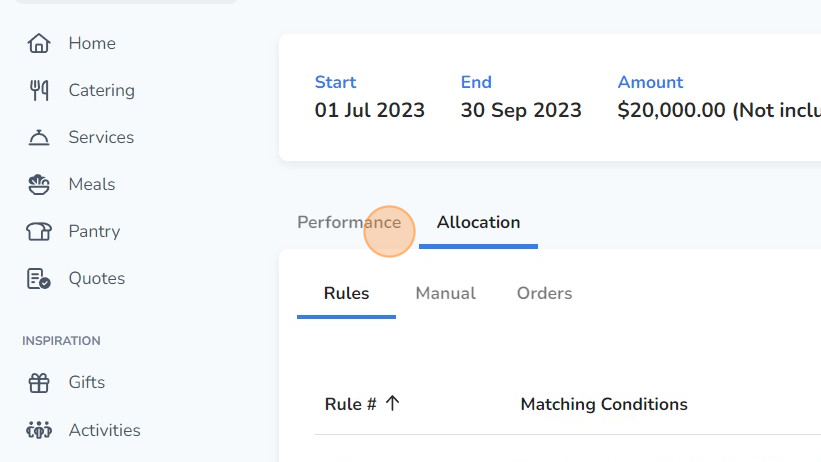
6. Click on the 'Allocation' tab.
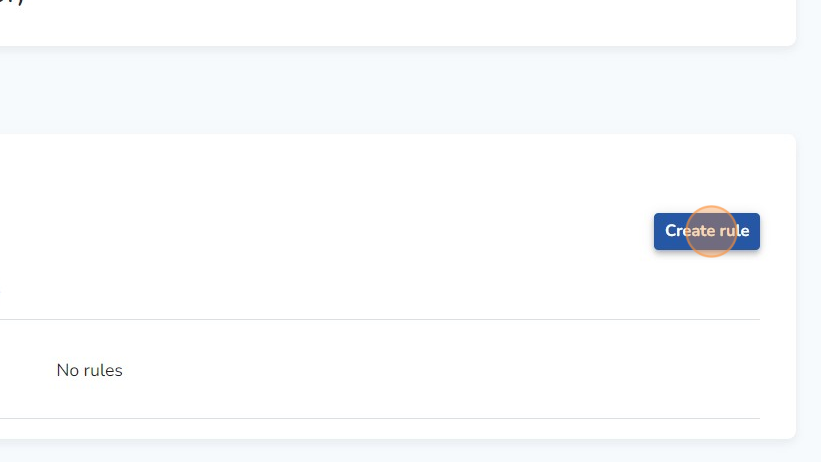
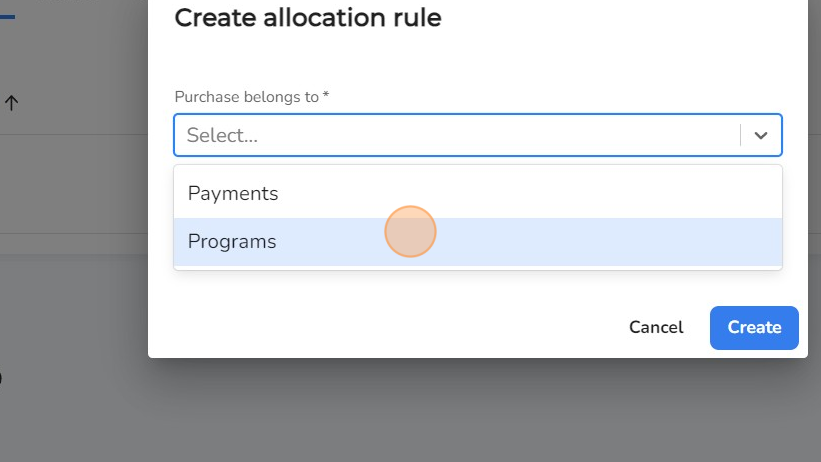
7. Click 'Create rule'. This will allow you to allocate specific invoice payment options and/or specific programs to this budget.
8. Select from the drop-down whether you would like to allocate a payment option or specific program.
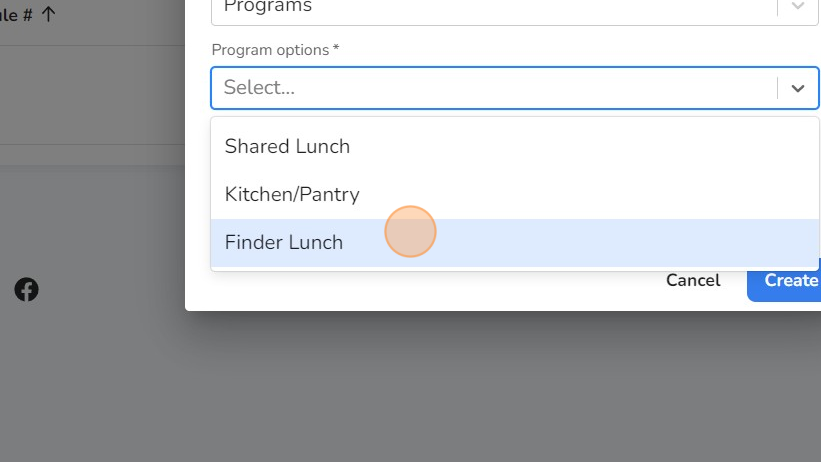
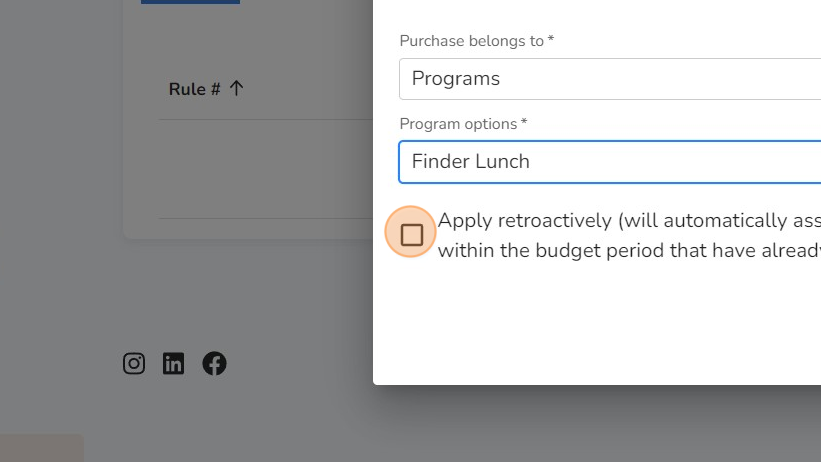
9. Once selected, then select the respective program or invoice payment option to allocate to this budget.
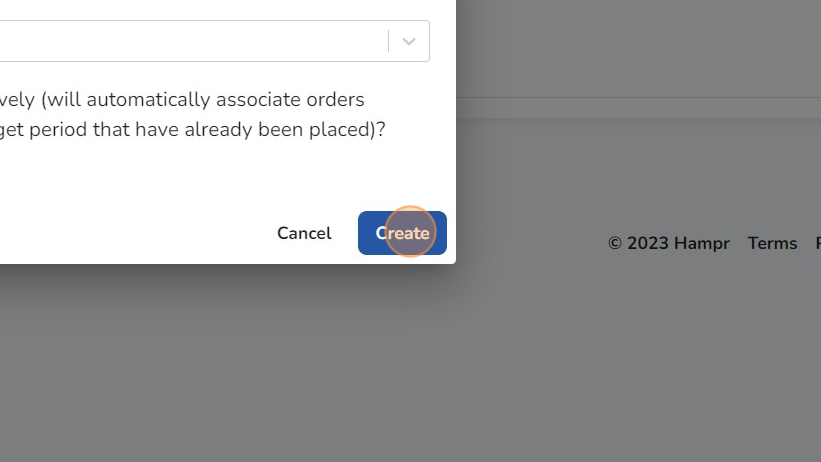
10. If you would like to associate any historical orders within the budget period for this budget, check the checkbox 'Apply retroactively (will automatically associate orders within the budget period that have already been placed)?'.
11. Click 'Create'.
Note: You can create multiple rules for the same budget if required.
(This is used in cases where you would like to allocate multiple programs or multiple invoice payment options to the same budget).
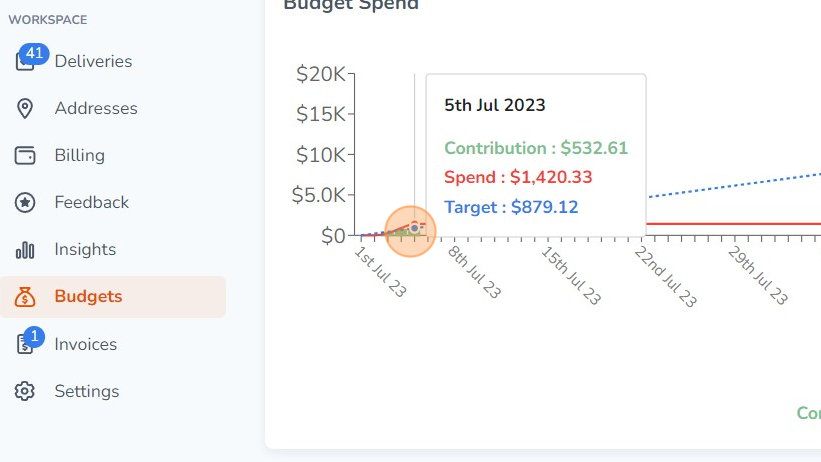
12. Click on the 'Performance' tab to view your current spend for this budget.
Note: This will update dynamically in real time as more orders are placed through the Hampr platform.
13. Hover your mouse over a specific time period to view detailed spend data for this budget.